


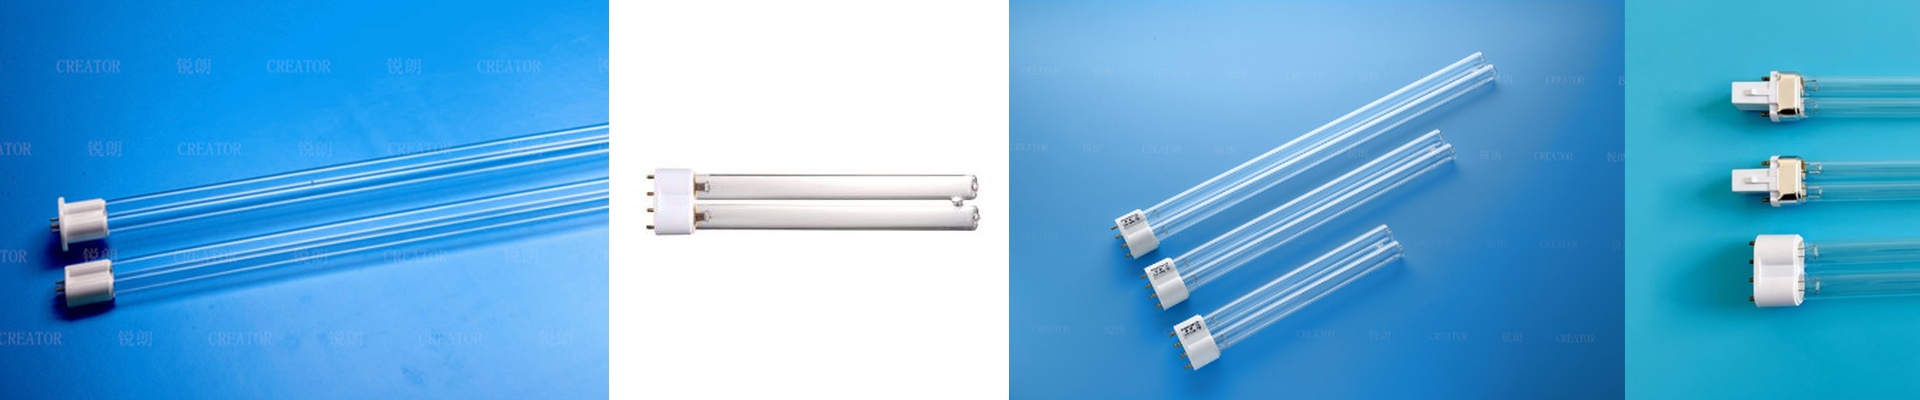

Getting Your UV Curing Right on High-Speed Lines
Most shops treat UV lamps like lightbulbs—you just swap them out when they pop and don’t think twice about it. But here’s the thing: that lamp is actually the heartbeat of your entire curing process. When you’re plugging UV curing into an automated line, you aren’t just buying hardware. You’re balancing heat and light.
The actual science of the “cure”
For your ink to set properly, the light coming off the lamp has to play nice with the chemicals in the ink. Whether you’re using LED or mercury vapor, it all comes down to how much power is hitting the surface. Get the wattage too low? You end up with that annoying tacky feeling on the surface or, worse, the ink starts to bleed. But if you just crank it to the max, you might scorch your material or see the film shrink. It’s a balancing act.
Dealing with the heat
High-intensity lamps gethot. Really hot. We build our gear to drop right into your existing rigs, but you can’t ignore the thermal side of things. A powerful tube gives you that instant cure you need for high speeds, but it puts a lot of pressure on your cooling fans. If your airflow is blocked or your blowers are too weak, your lamps are going to burn out way faster than they should.
It’s about the whole picture
We don’t just put a part in a box and ship it. That’s not how this works. We look at the real-world stuff: how fast your conveyor is moving, the exact gap between the lamp and the product, and how thick your ink is. Sometimes, just nudging the lamp an inch or tweaking the power supply is all it takes to stop a bottleneck that’s been killing your productivity. The goal is to make the hardware fit your specific workflow. When the lamp and the process are in sync, you stop wasting energy and stop tossing ruined batches in the trash.