
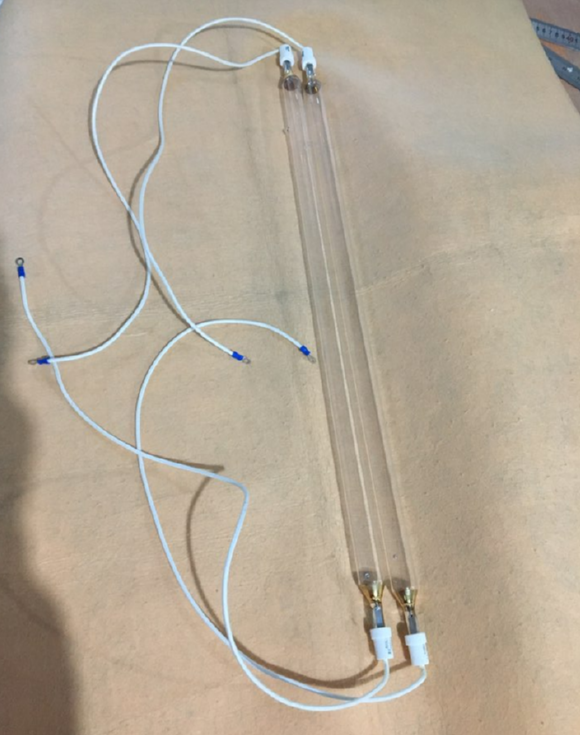
How we actually build high-output UV lamps that don’t quit
For 15 years, we played the game of white-labeling other people’s gear. It worked, but it wasn’t enough. We wanted to build our own mercury UV bulbs that could go toe-to-toe with the big international brands—the kind of stability you expect from the top tier, but without the “big brand” markup. Here is how we actually do it.
The quartz problem
It all starts with the glass. We use high-purity fused quartz for the envelope because it lets the UV-C light pass through without a fight. If that purity slips even a tiny bit, the glass starts absorbing the radiation. Instead of curing your product, the tube just gets hot. Not ideal. That’s why we’re obsessive about the transmission rate at the 254nm peak. If the light can’t get out, the lamp is just an expensive heater.
Fighting the heat
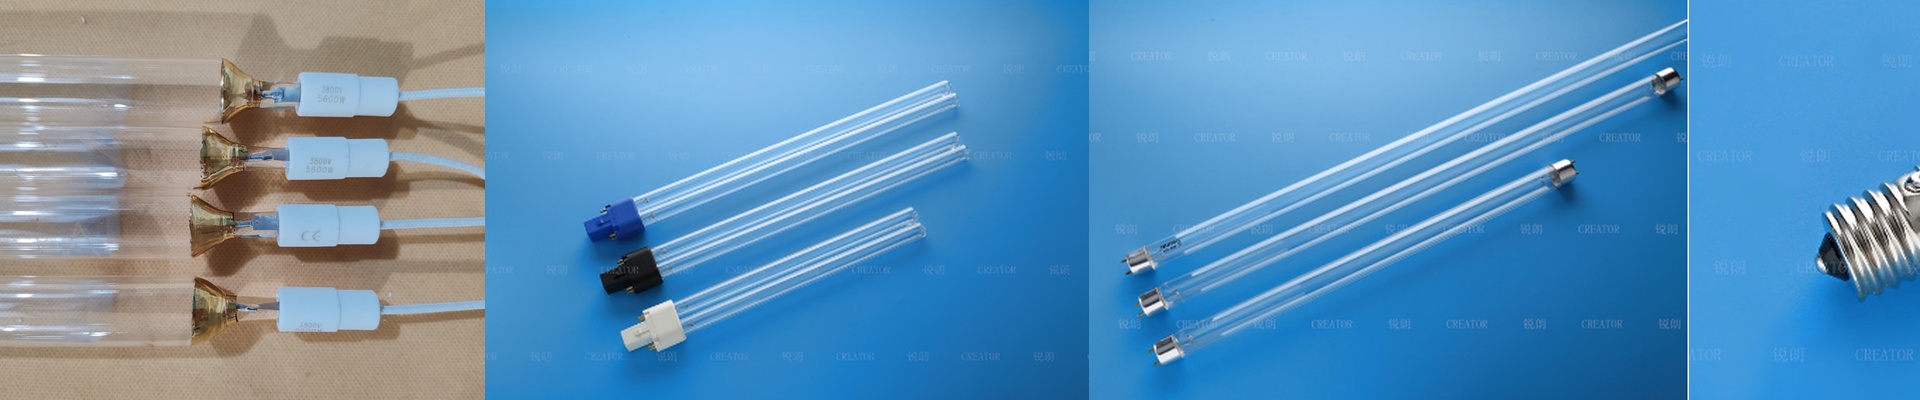
When you cram high wattage into a small space, heat becomes your biggest enemy. We spend a lot of time tweaking the electrode mix so the bulbs don’t burn out prematurely. You need that high-voltage kick to get the gas ionizing, but once it’s running, the current has to be spot on. If your ballast isn’t a perfect match for the lamp’s impedance, you’ll see it. You’ll get that annoying flicker, or the electrodes will just wear out way too fast. And a quick tip:check your cooling. High-output arrays throw off a ton of infrared heat. If your airflow is blocked, the tube temperature spikes, the mercury vapor pressure shifts, and your UV output just drops off a cliff.
No one likes a bad fit
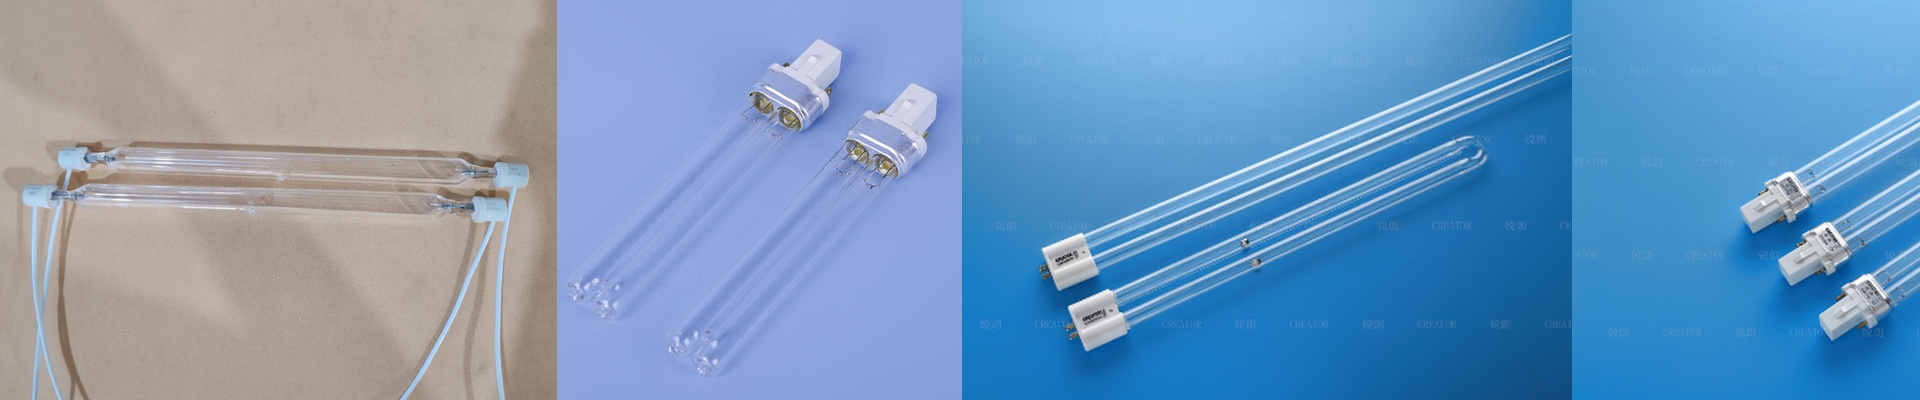
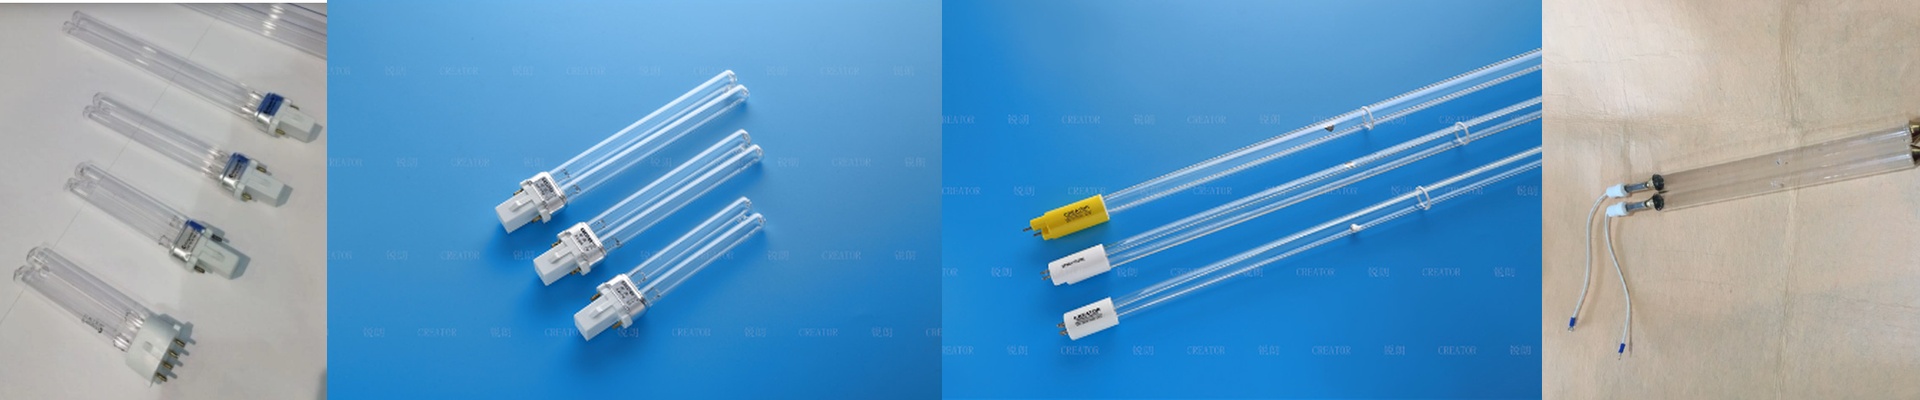
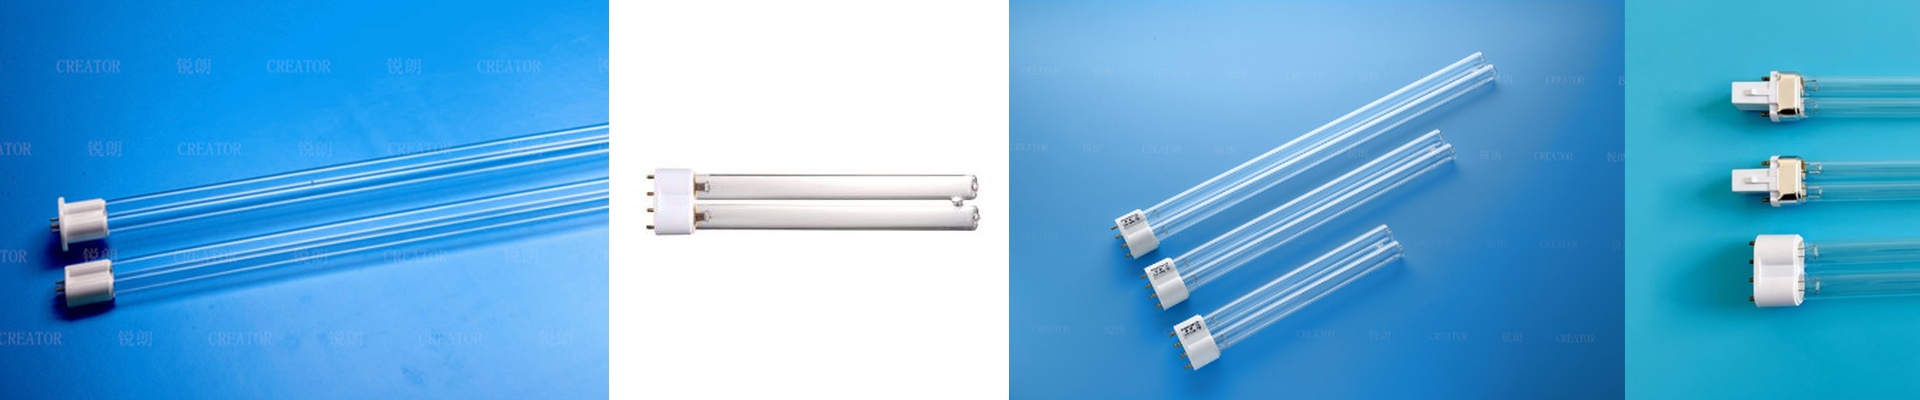
There is nothing worse than spending an hour trying to force a lamp into a socket. We design these to be simple drop-in replacements. Whether you’re using sterilization tunnels or curing stations, the size has to be exact. If a lamp is off by even 2mm, it won’t seat right. That leads to arcing, or worse, the glass snapping during installation. We keep the tolerances on the pin alignment tight. You should be able to wire it up and get back to work without fighting your own hardware.